On a LAB or even a production environment, it can be useful to restore the system with a snapshot if something goes wrong.
Despite you can use Azure backup or site recovery for this, Azure is offering a simple feature called “Snapshot”. You can create a snapshot from an existing disk, even being up and running on a VM.
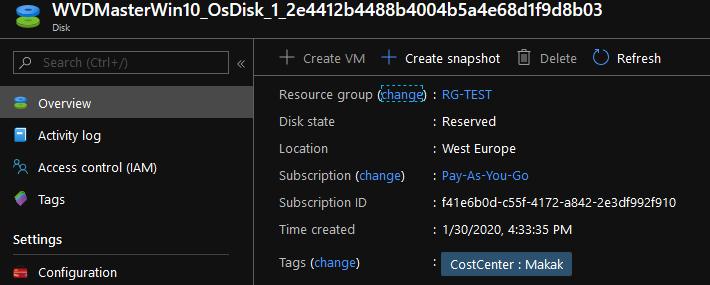
If you need to create a snapshot, just go to the disk and click on “Create snapshot”
1. Determine the snapshot you want to use for restore

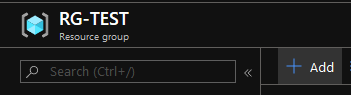
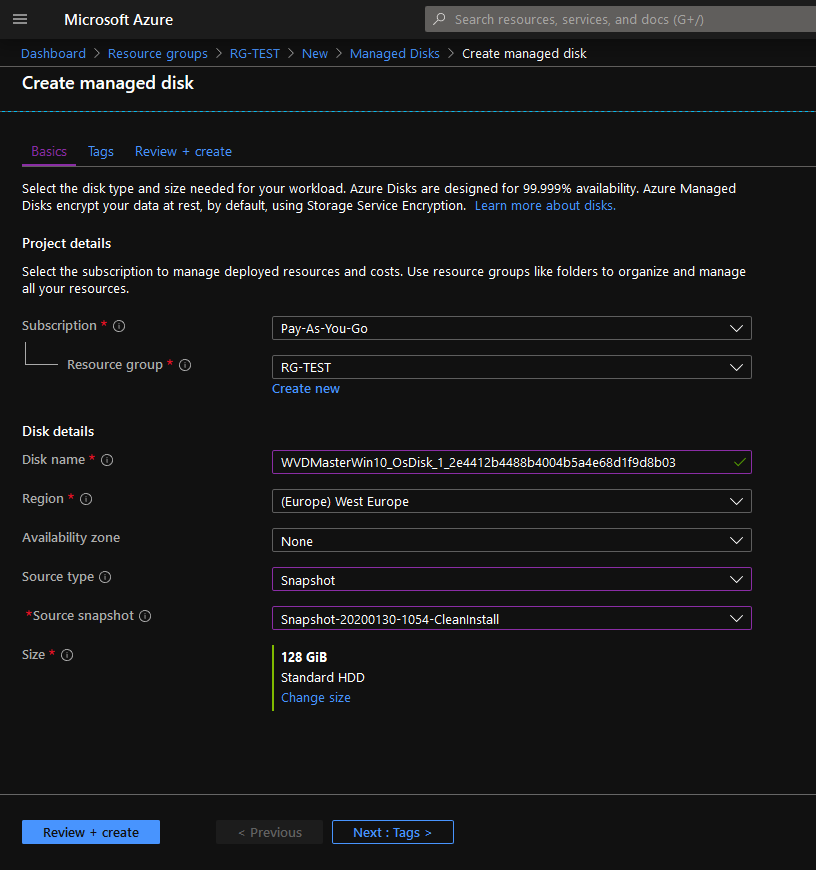
2. Add a new Managed disk
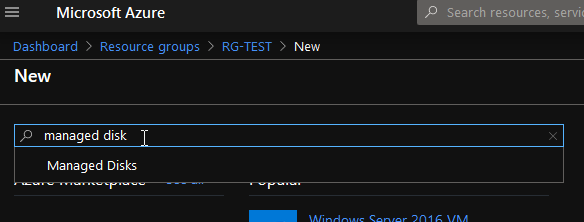
3. Search for Managed disk
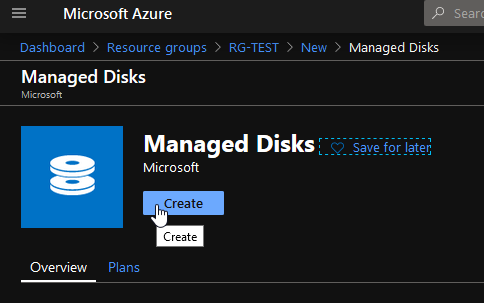
4. Create the managed disk
5. Create from snapshot like in the example image below
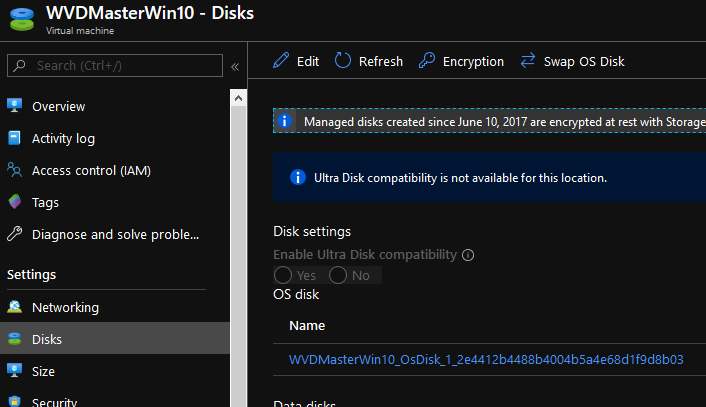
6. Once you created the new disk from the snapshot, assign it to the VM (Must be deallocated)
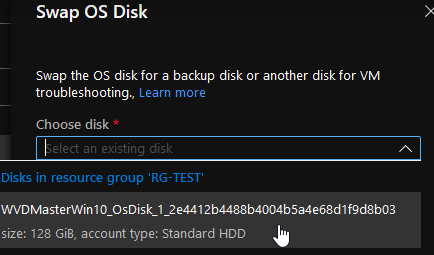
7. Assign the right disk to your VM.
That’s it! You can now restart your vm and work again!
What if have issues with other Disks ( D,E etc …).
Is there any way to take Snapshot of those also ?
Or Full VM restore is the only option.
Thanks,
Madhan Mani
madhanapt@gmail.com
Hi Madhan,
As far as I know, you can only switch VM OS Disk.
But if I had to change a managed data disk, I would do the following steps as there is only data :
1. Create a new disk and integrate the snapshot
2. Add the newly created disk to the VM
3. Change the drive letter on the system
Hope this helps.
Best regards,
Karl